When I started my podcast I didn’t own any equipment. I simply took advantage of the fact that I worked in a radio station and would schedule my recording sessions after hours and use the studios at work. When I moved to take my new job, my wife and I chose to live in a small town between our two jobs. It meant she had to drive 30 minutes to work each day and I would have a 50 minute commute. I continued using work studios for a few episodes, but doing an hour recording at 6pm with a 50 minute drive home meant that recording my podcast was becoming a much larger time commitment. It was at that point that I decided to invest in equipment for my own home studio!
This made things far more convenient, gave me much more flexibility in fitting my recordings around the guest’s schedule, and was a huge time saver. Since then, I’ve taken several emails about what equipment I use and figured it was about time I share how I came up with my own studio setup.
A quick disclaimer, because I believe in complete transparency. If you purchase any of these items through the links on this page, a small cut comes back to support this site. I do own and use every product listed, and am not trying to push products I don’t use or believe in.
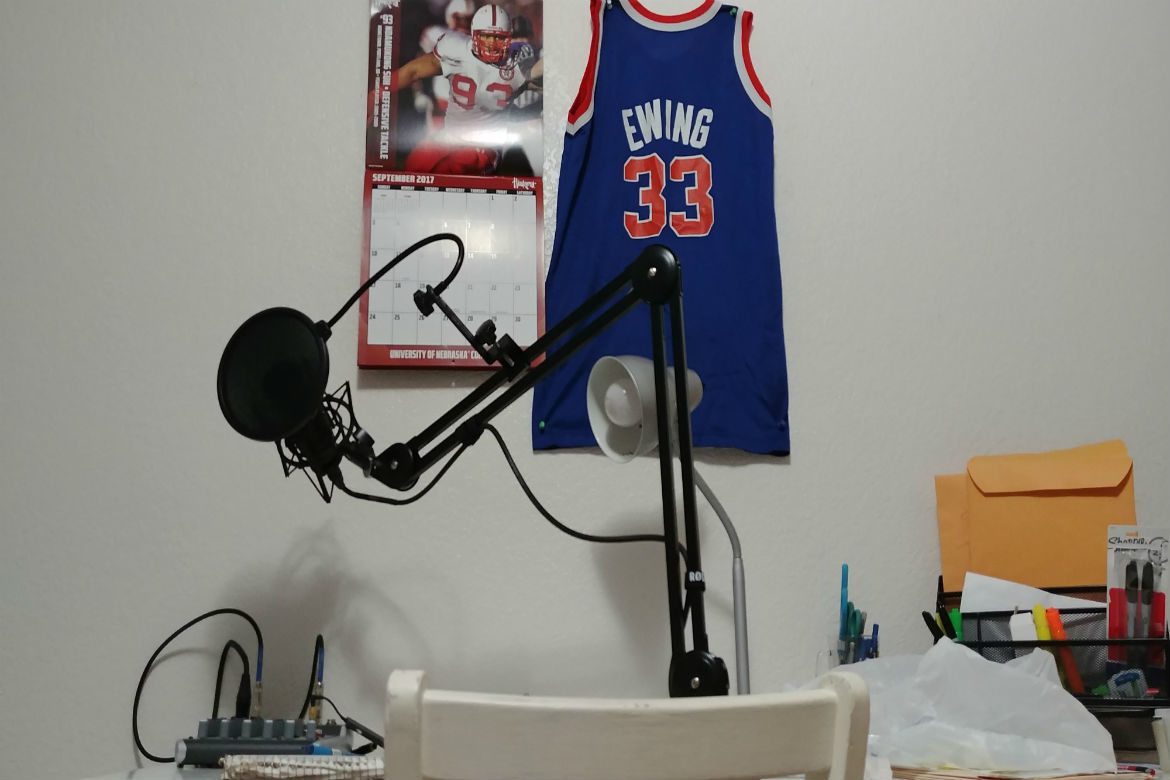
Microphone: The first piece of gear I purchased was a microphone. Nothing else really matters unless you have a good mic, preferably one that doesn’t blow out your budget. The first decision to make is whether to get a condenser or a dynamic style mic. Both have certain advantages but I ultimately decided on the AKG P220 Vocal Condenser Microphone. It had very good reviews, was only $150, and since all the mics we use in our station recording studios were condensers, I decided to go that direction. I’ve been extremely happy with my choice. It has produced a consistently solid sound for my podcast as well as given me the opportunity to record ads from home for the sales part of my job.

It’s worth noting that I chose a mic that uses XLR cable and does not connect directly to a computer through USB. I wanted to have the capability of recording multiple tracks and to have more control over my sound. That means my next piece of equipment is a…..
Mixer: I bought my mic in October, and it sat unused in my spare bedroom until January. I had just moved and was saving for a wedding, so the budget was a bit tight. I waited until Christmas and asked for additional studio items as gifts. The mixer I asked for was the Behringer Xenyx 802 Premium 8-Input 2-Bus Mixer with Xenyx Mic Preamps and British EQs. For about $60 this mixer has eight channels, including two XLR inputs. It’s far from top of the line, but the USB hookup means I can record directly to recording software on my laptop using my higher quality XLR mic. It’s also lightweight, portable, and simple to operate. At some point as the podcast grows I would like to upgrade to a model with more XLR inputs for live recording purposes, put this piece of equipment has been great so far.

Boom Arm: My studio/spare bedroom is also our spare bedroom and my wife’s music room. There is a bed, large keyboard, desk, and a couple of book shelves. I needed a boom arm that could attach to a desk without taking much space. The RODE PSA1 Swivel Mount Studio Microphone Boom Arm is what I went with. It comes with a clamp that makes it easy to install and it does what a boom arm should, by allowing me to move/adjust my mic to the proper height to record good sound and move it the heck out of the way when I’m using the desk for other purposes. This was a bit pricey at about $100, but it’s worked well.

Pop Filter: I bought the Sterling Audio STPF2 Professional Mesh Pop Filter. It’s a mesh pop filter that attaches to the boom arm with a gooseneck to adjust it to the proper position. I had problems with this item early on. The mount was somewhat heavy, and my boom arm would dip down. Over time as the boom arm joints became more broken in, this problem went away. This item was pretty inexpensive at about $22.

Earbuds: I use Bose QuietComfort 20 Acoustic Noise Cancelling Headphones to hear the other side of the conversation. I love this product! They are expensive, at about $250, but worth it. I had issues early on using bigger headphones creating feedback as I leaned into the mic. I switched to these earbuds, and that problem disappeared. These are also great on team road trips because they drown out the noise from everyone else on the bus, allowing you to focus on your own audio or even get some sleep.

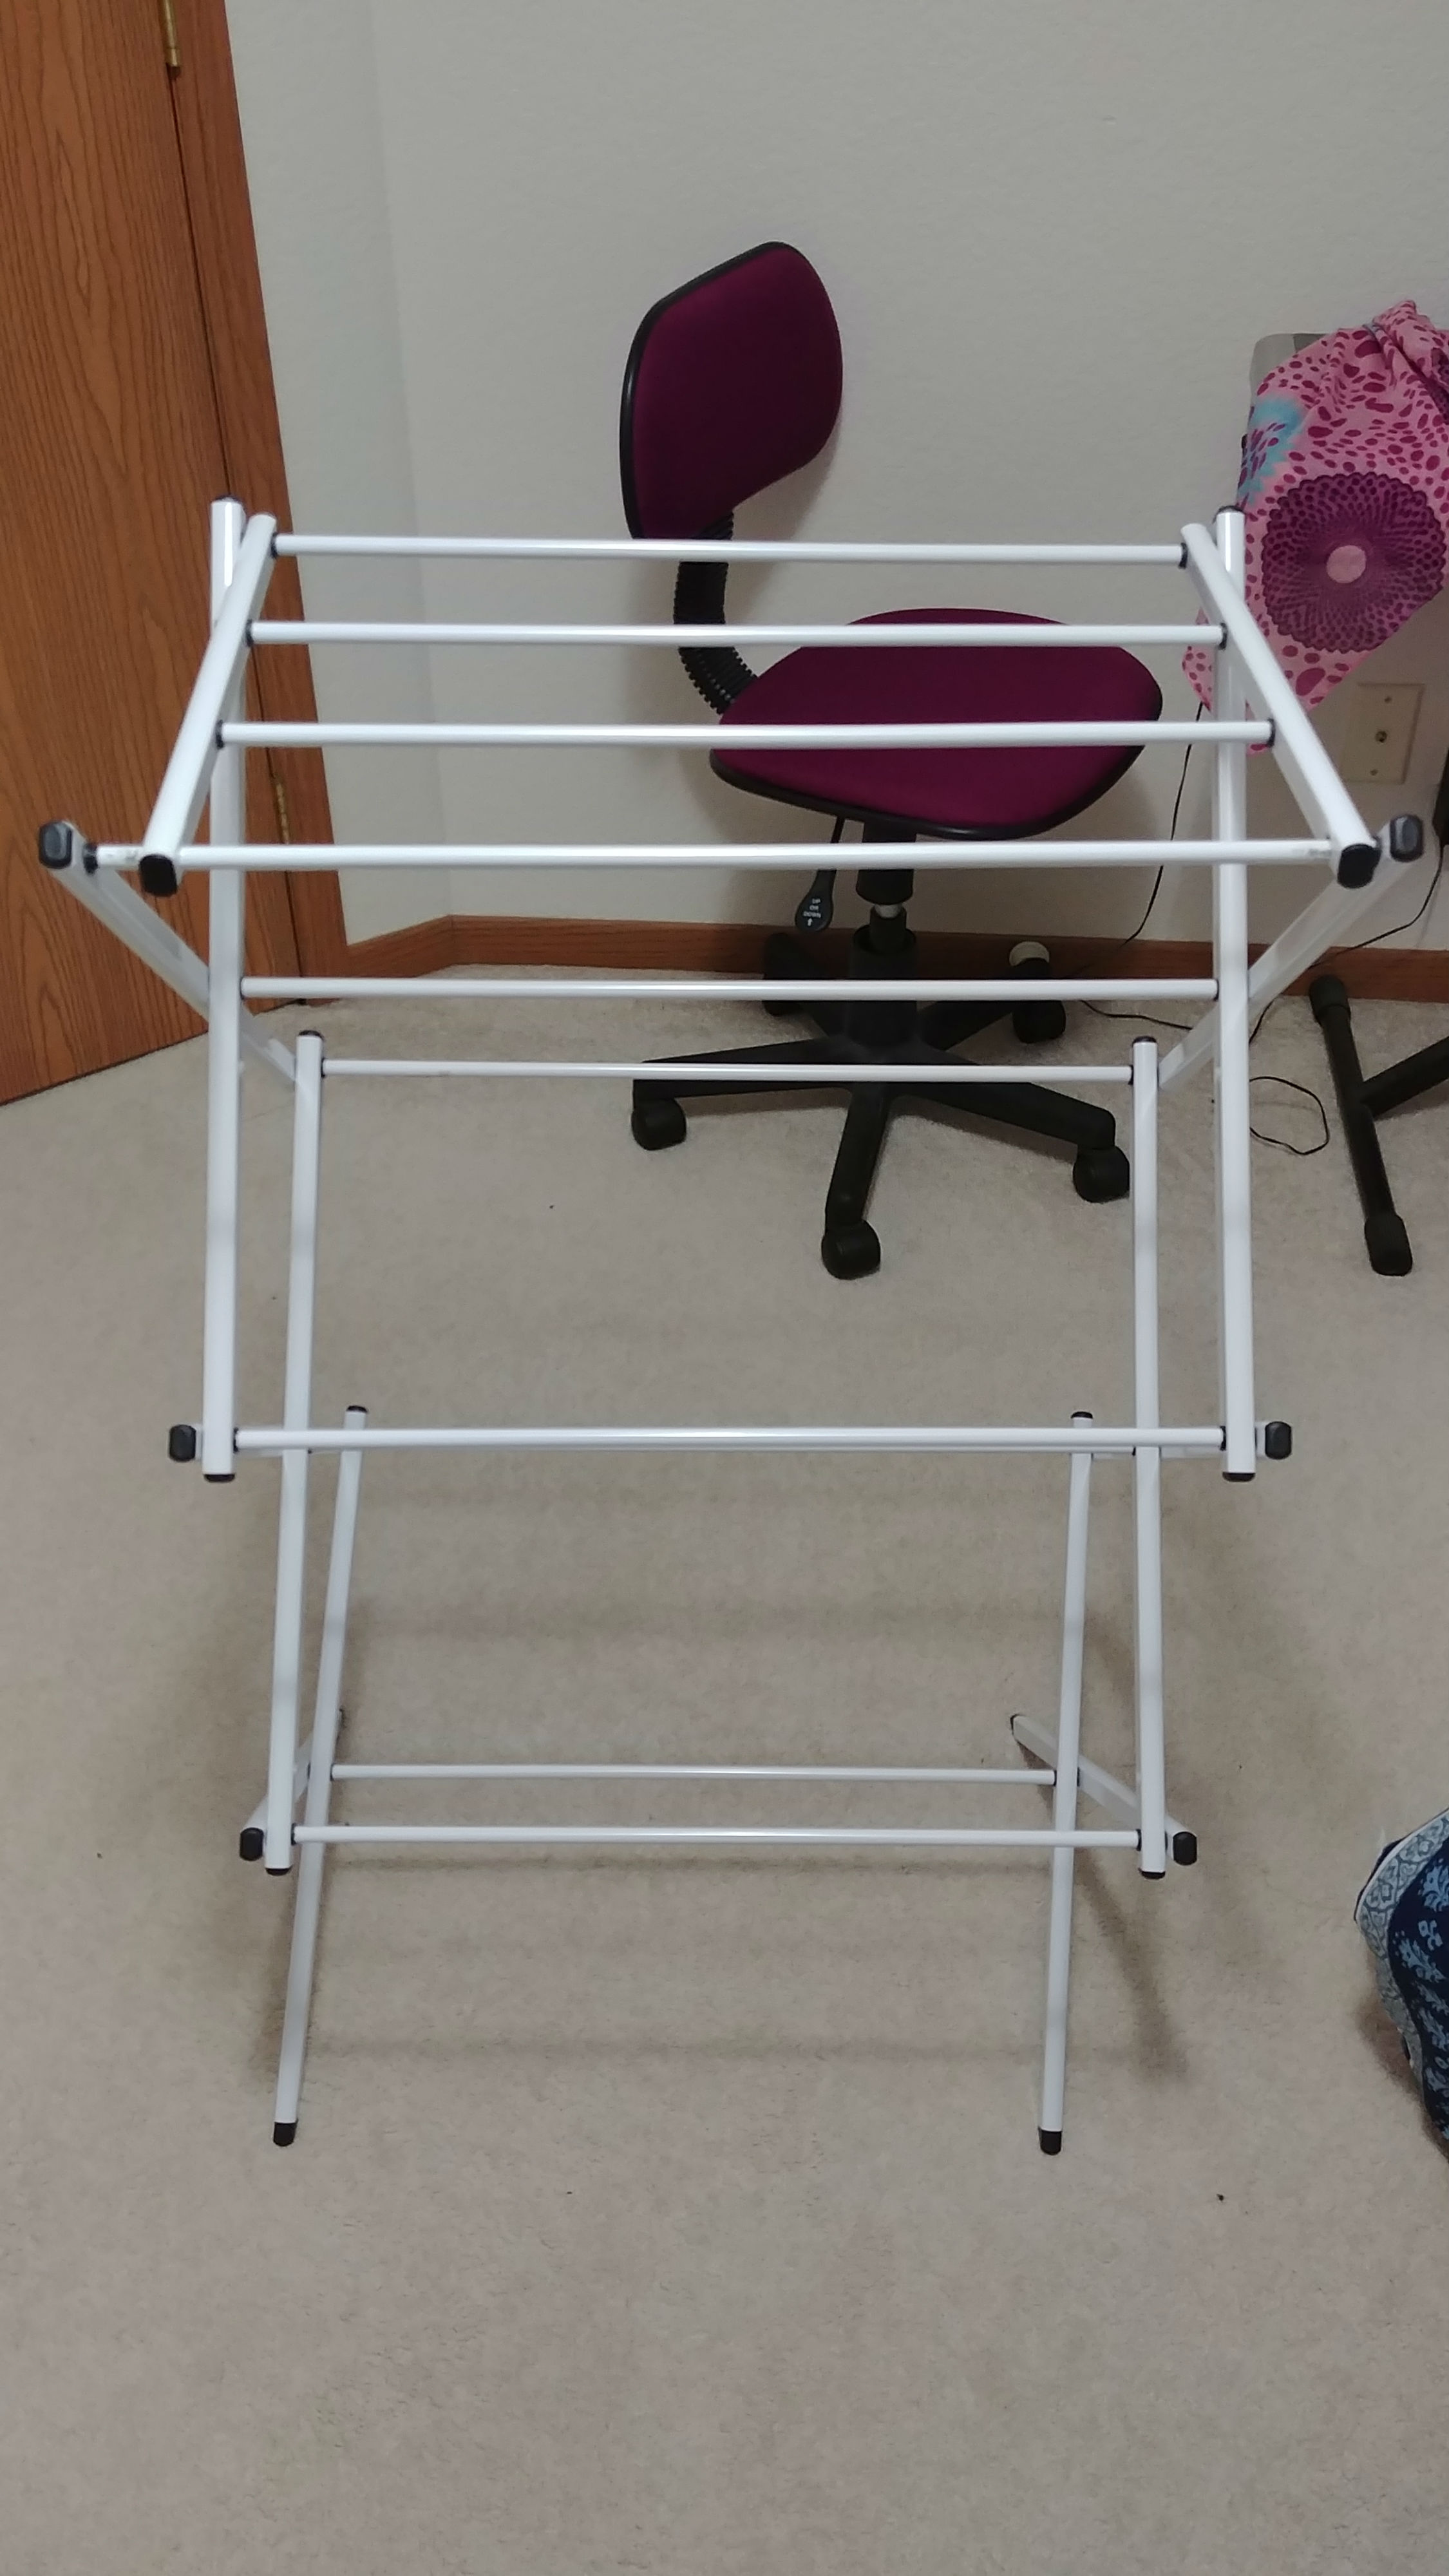
Advanced Sound Deadening Technology: When figuring out how to record quality sound in a spare bedroom, I had to find a way to deaden the echo in the room. Noise canceling panels are expensive so I looked for a homemade solution. What I did is so simple that it’s almost laughable, but it worked! I simply took a clothes drying rack, placed it six to ten feet behind my chair, and tossed a blanket over the top of it. This made an immediate and noticeable echo reduction and it was free!
![]()
This is how I set up my home studio. If you have any questions feel free to post in the comment section or contact me directly via the SayTheDamnScore contact page.
Never miss a new SayTheDamnScore.com post by signing up for email updates
Get expert feedback on your play-by-play from the SayTheDamnScore Critique Crew!


5 Comments
Do you use a phone or computer to play the opening soundtrack through your mixer (like a mix-minus setup)? If so, what is your setup to get your opening soundtrack to play? I cannot get the music to go from my mixer to the recording software when I attempt to make podcasts or coach’s shows.
My podcast intro is pre-produced. So what I do is record my interview, save it and run it through a program called auphonic to even out all of the levels, and then mix the intro and outro in during post production using Cool Edit Pro (Audacity is a free program that does the same thing). I do use a mix minus setup during my interviews so that both sides of my interview can be recorded in one place. To do that I simply use a quarter inch cable, and loop the sound from my main out back into a line in. I can post a picture of what it looks like later this evening.
That would be great! Thank you for the information.
How do you record your interviews from home? This has been something I’ve wanted to do in my own home studio but have not found a convenient way to do so without buying a bunch of new equipment.
Joey, I use the equipment listed in the article and pay $5.00 a month for the skype call service. It allows me to call phones through skype and record them directly to software. I do have to use a mix minus setup to record both sides of the conversation.