It’s job season for those of us looking for positions as college football and basketball broadcasters. That means it’s time to pick through your work from last year, find the best stuff, and put together the tastiest demo reel possible. But how do you A) get the best sounding material to start with? and B) pick out the best sections of audio to highlight your skills? I’m glad you asked!
Get Pristine Audio: The first step is to get the highest sound quality possible. Not only are you trying to impress radio station program directors or Learfield/IMG decision makers, but you’re also trying to impress coaches and athletic directors. The former understand the fundamentals of play-by-play, the latter may not. A radio professional can spot a diamond in the rough calling games with mediocre audio quality via a cell phone signal. An AD or coach likely can’t, which means you can separate yourself simply by having better sounding audio.
There are a few different ways to get great sounding audio. If you’re fortunate enough to have access to a Comrex or Tie Line you can have your board op record the broadcast in the studio, and it will sound great. But don’t worry…if you don’t have top of the line equipment, you can still get great sound. Simply record your game directly out of your mixer. To get this done, you need to make a small investment in some equipment. You’ll need:
- A Digital Recorder: You can find these for as cheap as $35. It’s handy to have one that features an XLR input, but all that’s truly necessary is a 1/8 inch mic input. It’s basically an input the size of a headphone jack. Here’s what I use:
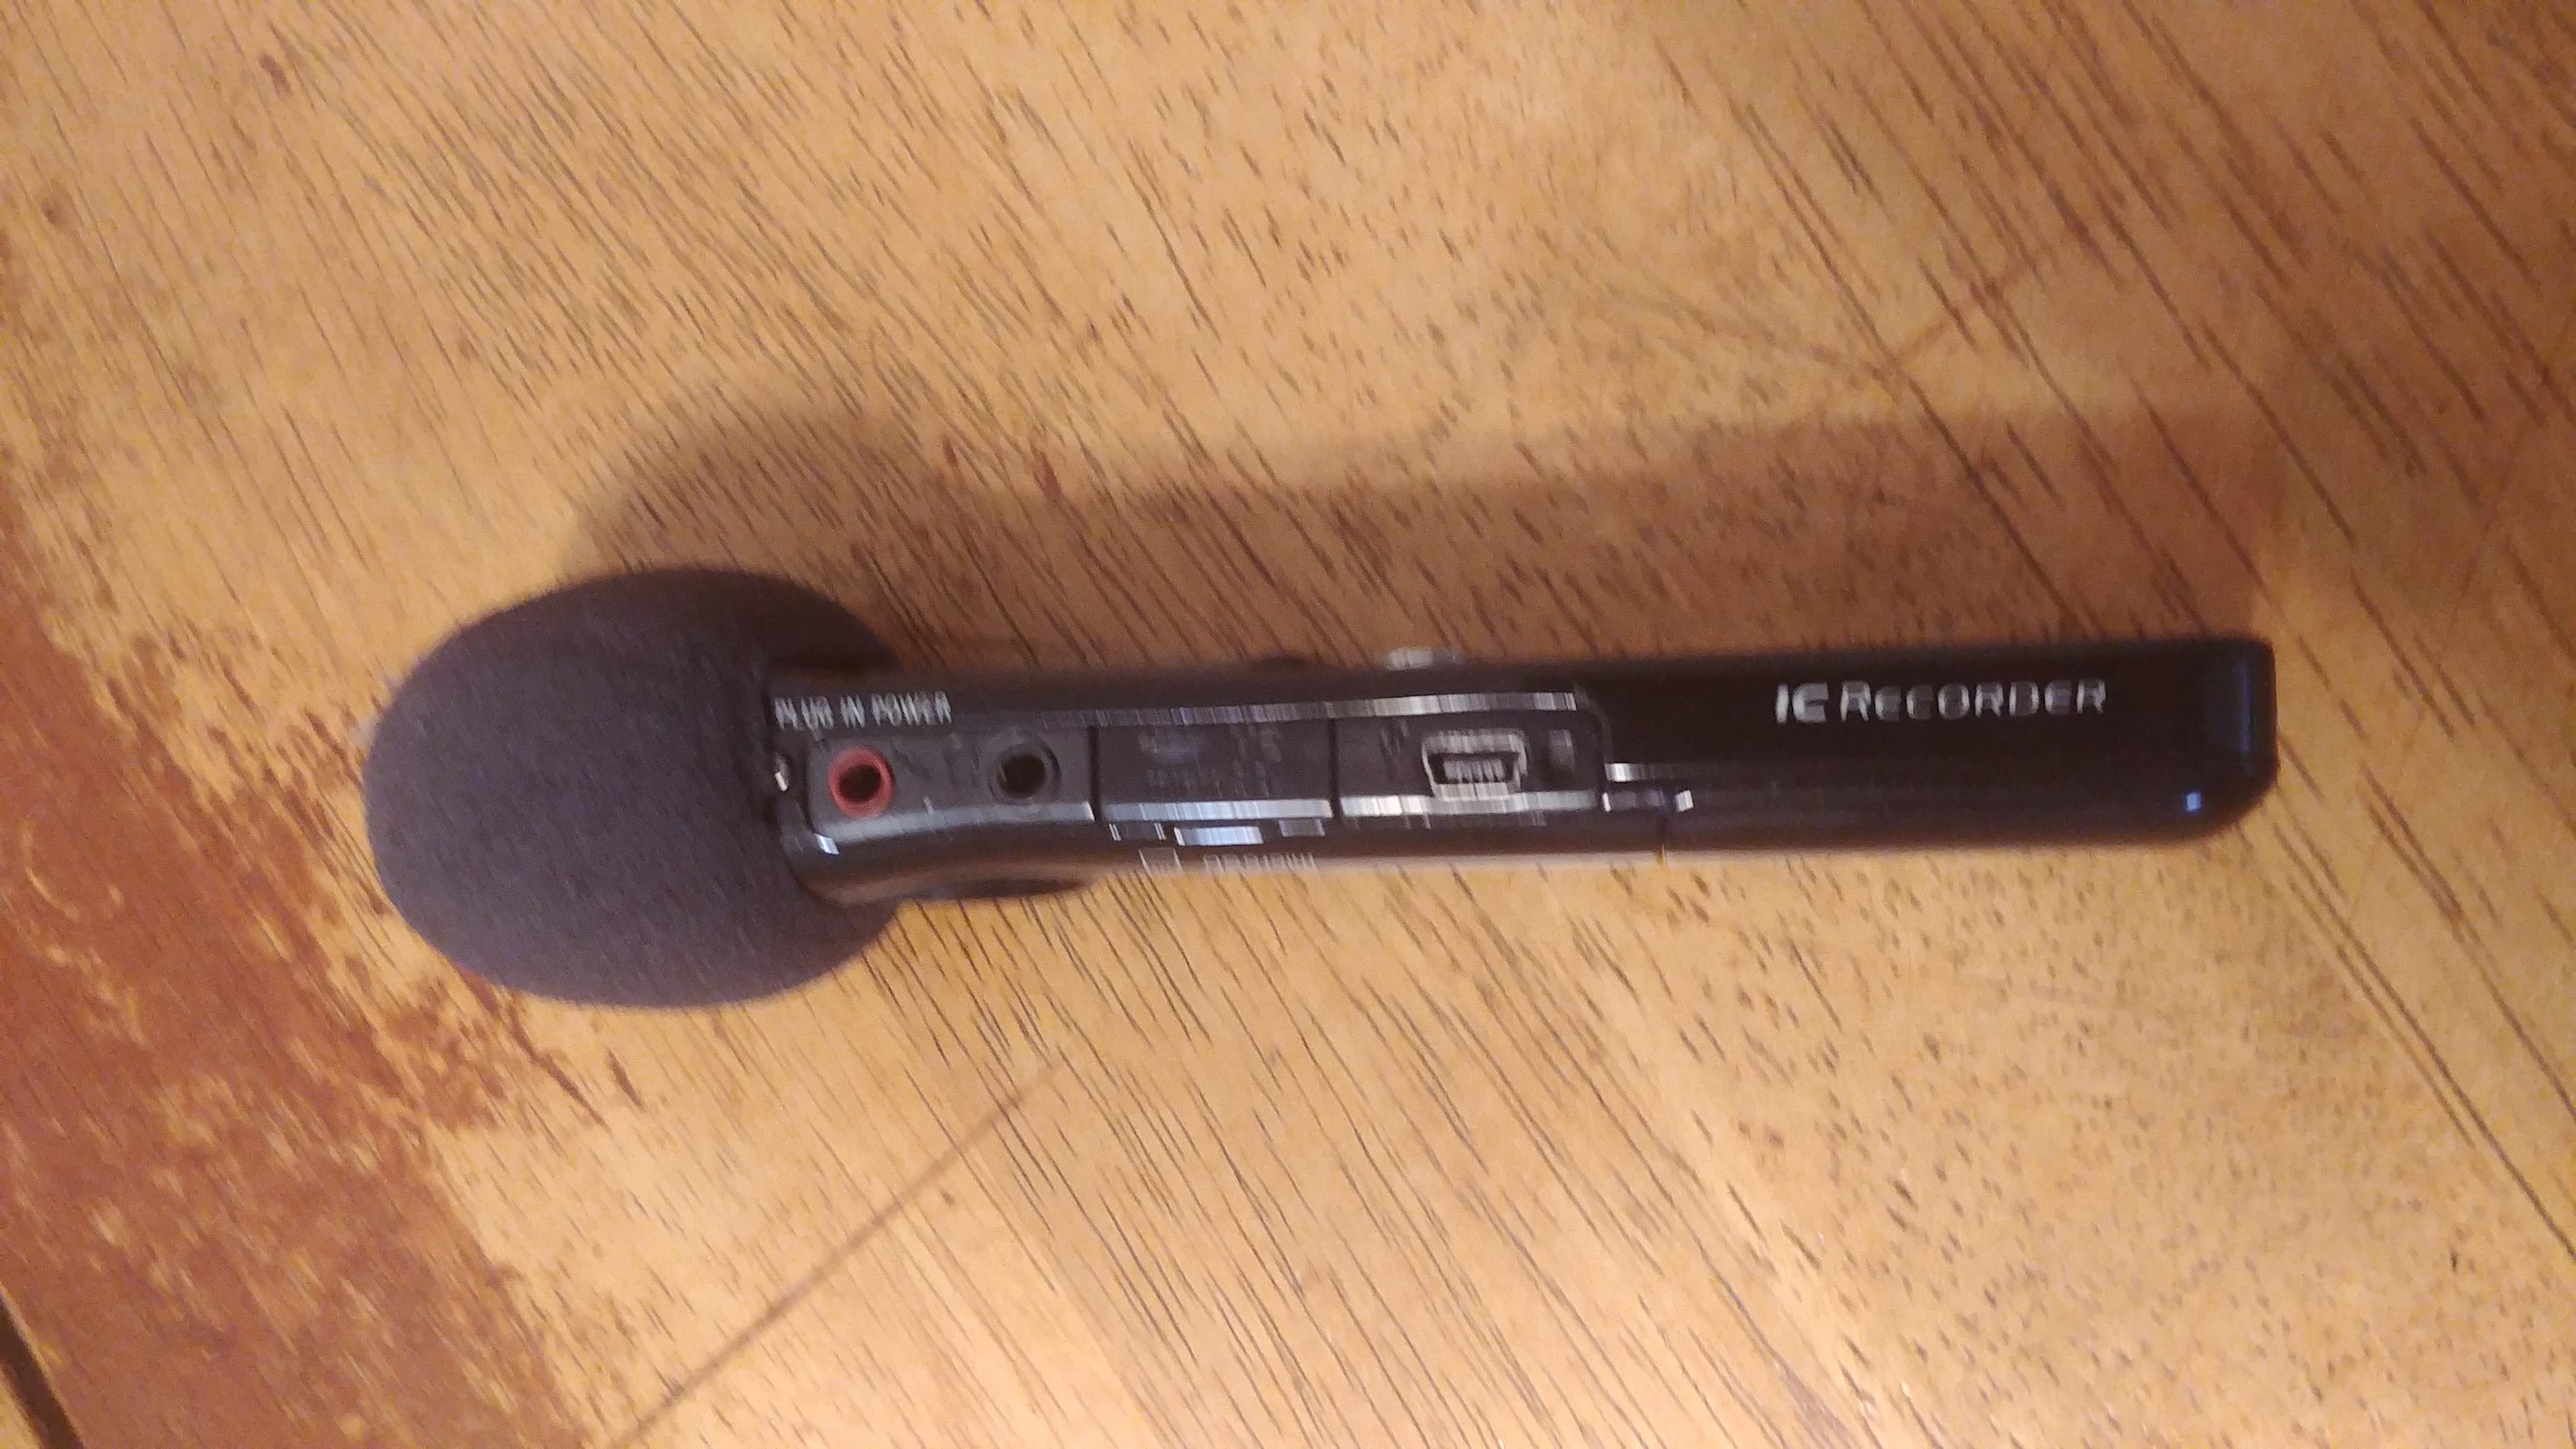
Sony Digital Recorder: the pink circle is the mic input.
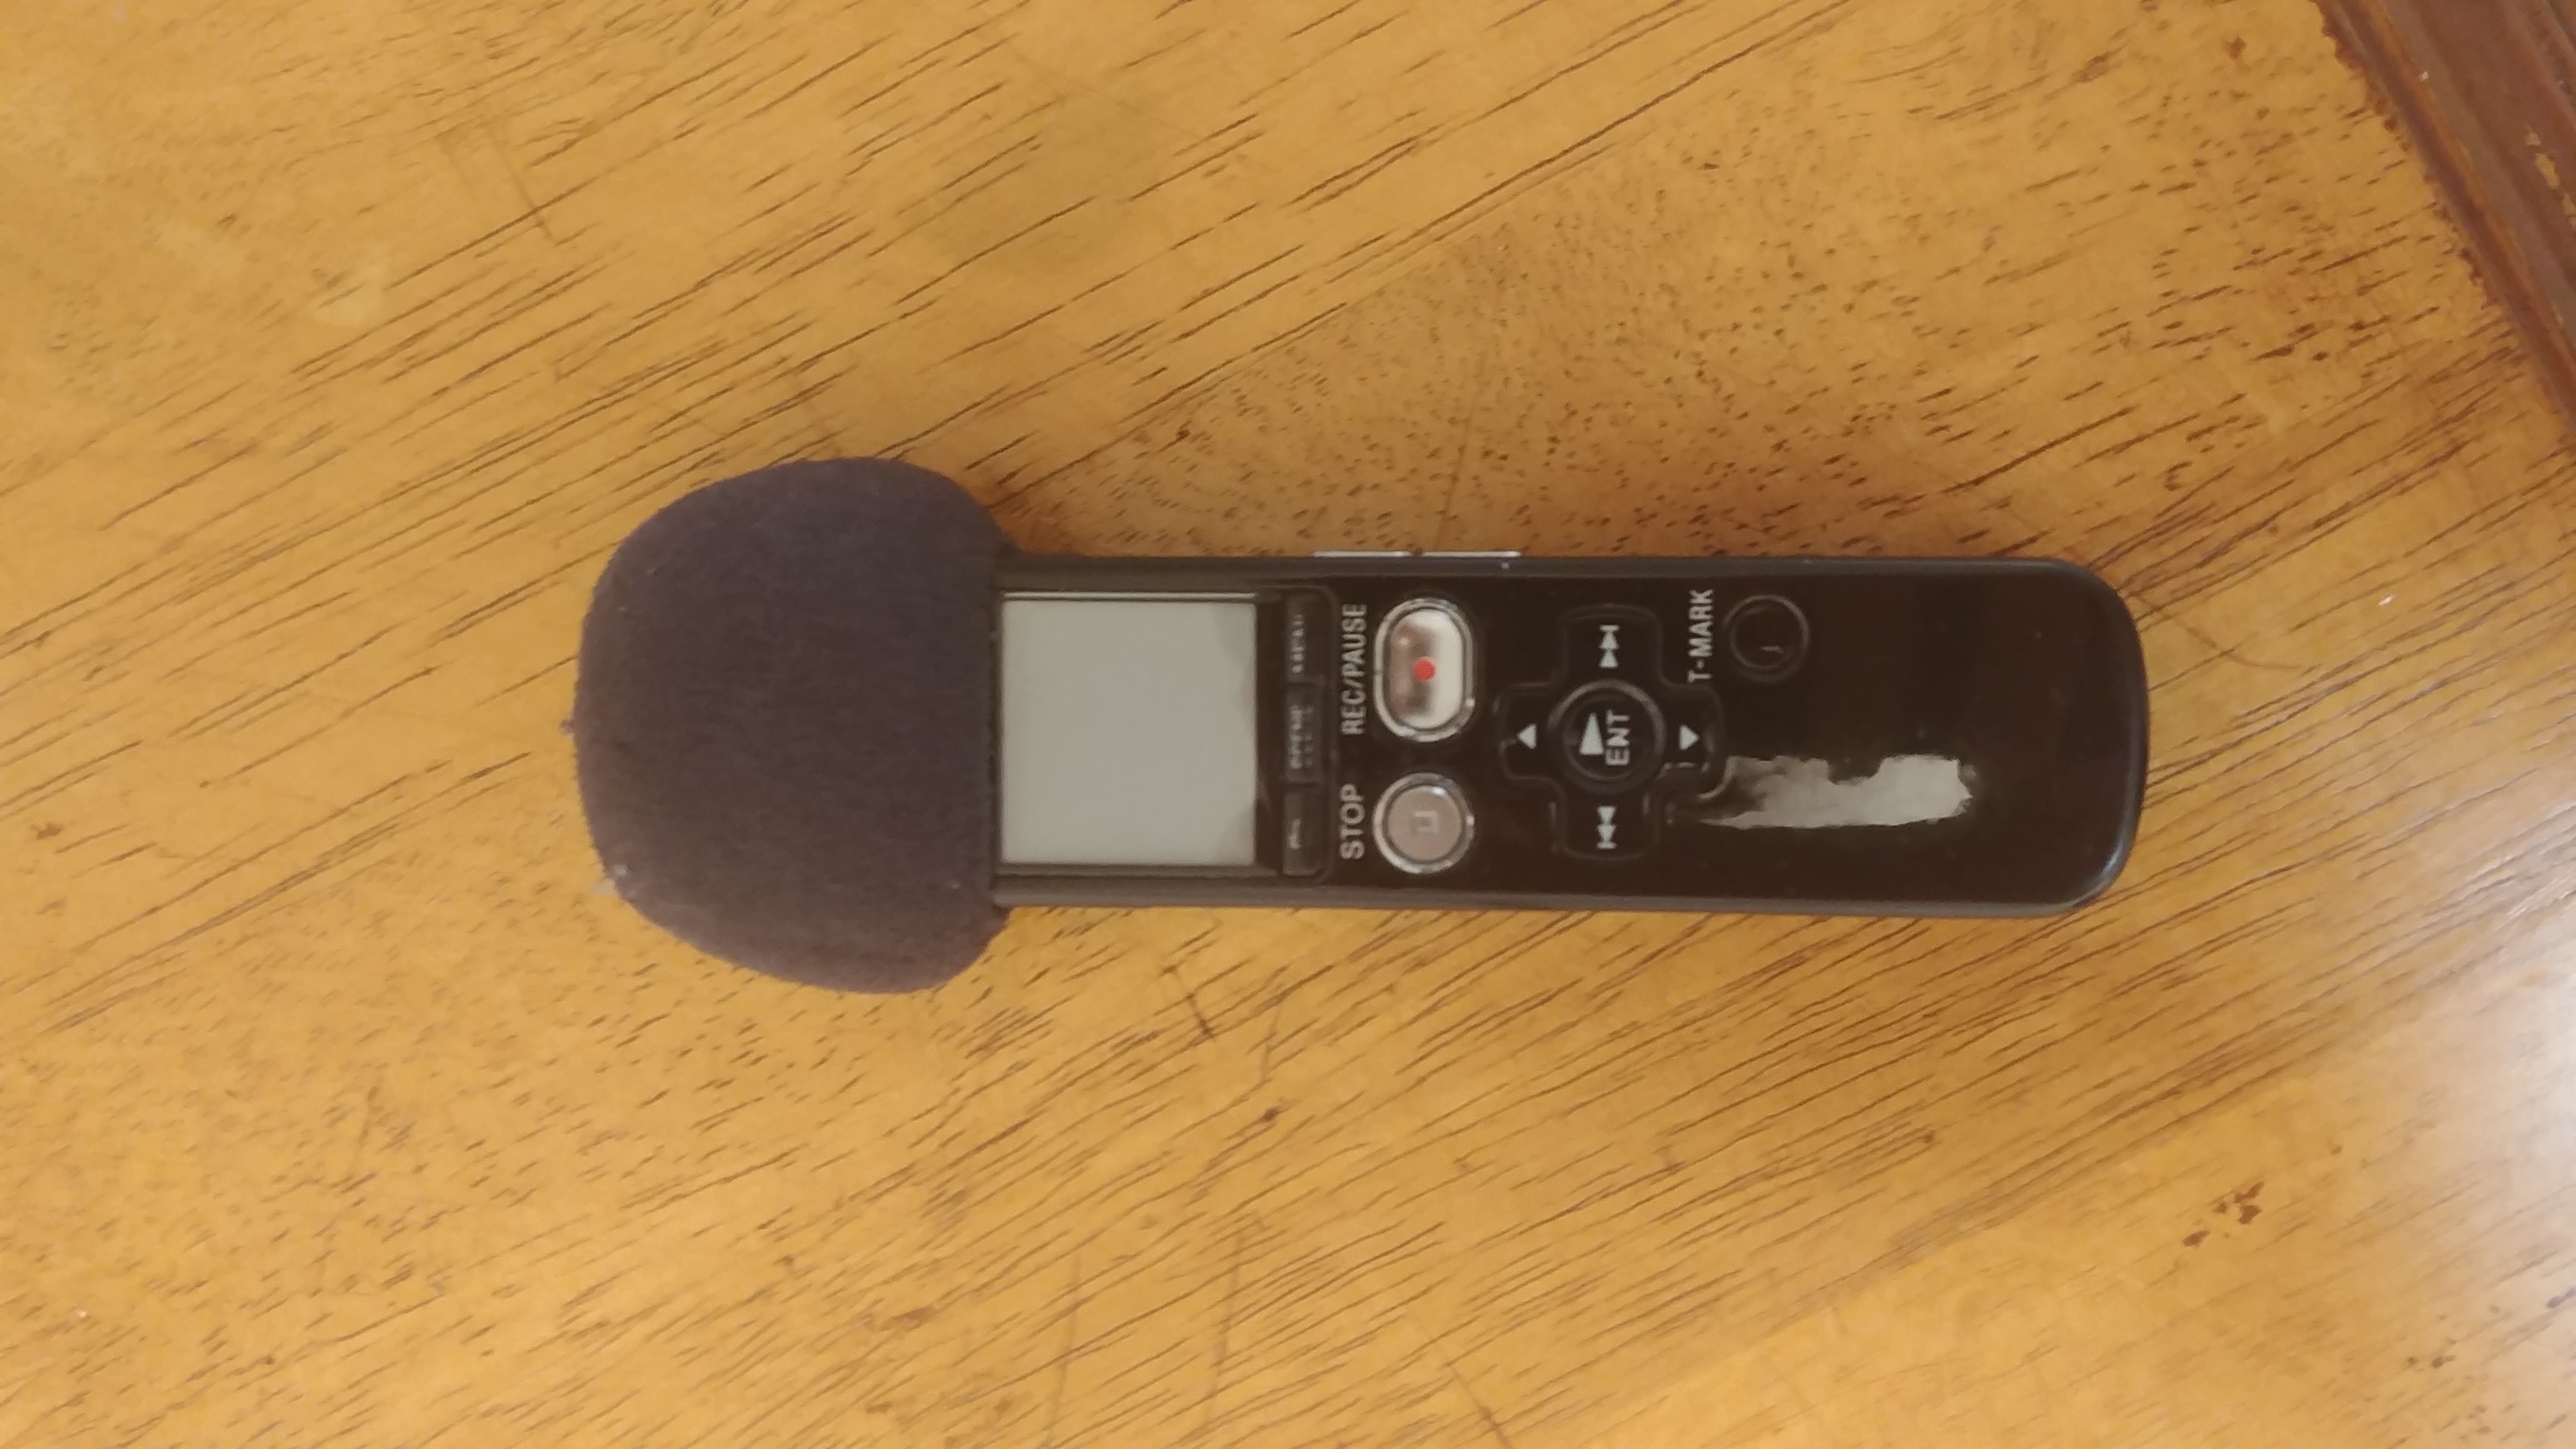
Sony Digital Recorder: front view.
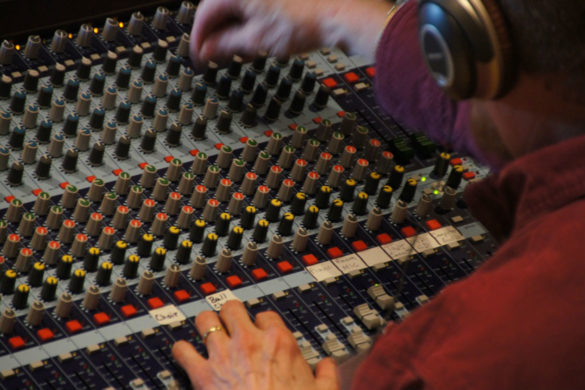
- A Mixer: This may seem obvious but you’ll need some sort of mixer to send your sound out to your recorder. I use a JK Sport Mix when I call my high school games where we broadcast over a pots line or cell signal. I use a Mackie USB mixer over Skype for my college games. Either one is fine. If you work at a radio station there is a good chance your mixer is provided for you and you won’t have to invest in one. Otherwise make sure you have one that has three or four XLR inputs and at least one XLR output. I personally own this model by Mackie.
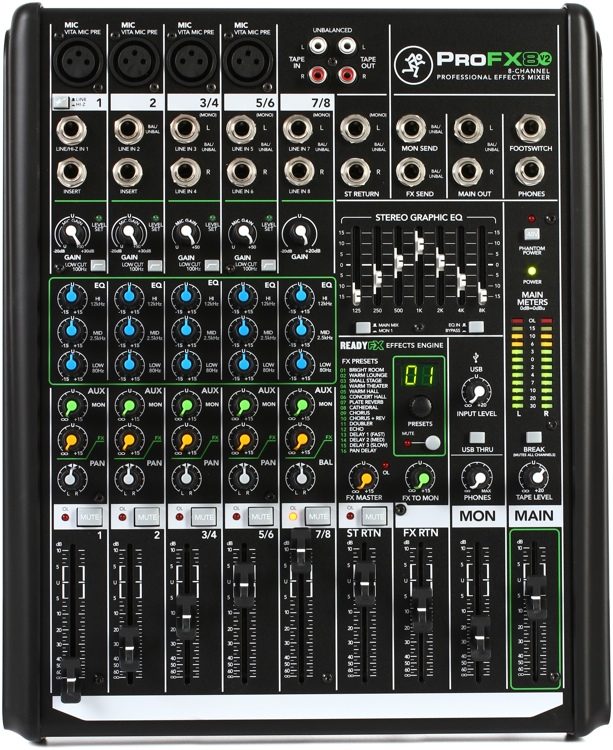
Mackie USB Mixer
- Cables: Your cables will reflect how you transfer your audio from mixer to recorder. I believe in using XLR connections whenever possible. In my opinion, the ideal setup is an XLR cable out of your mixer and into an XLR input in your recorder. However, recorders with XLR inputs are pricy- I certainly don’t have one. The next best solution is to use the XLR output to a 1/4 or 1/8 input.
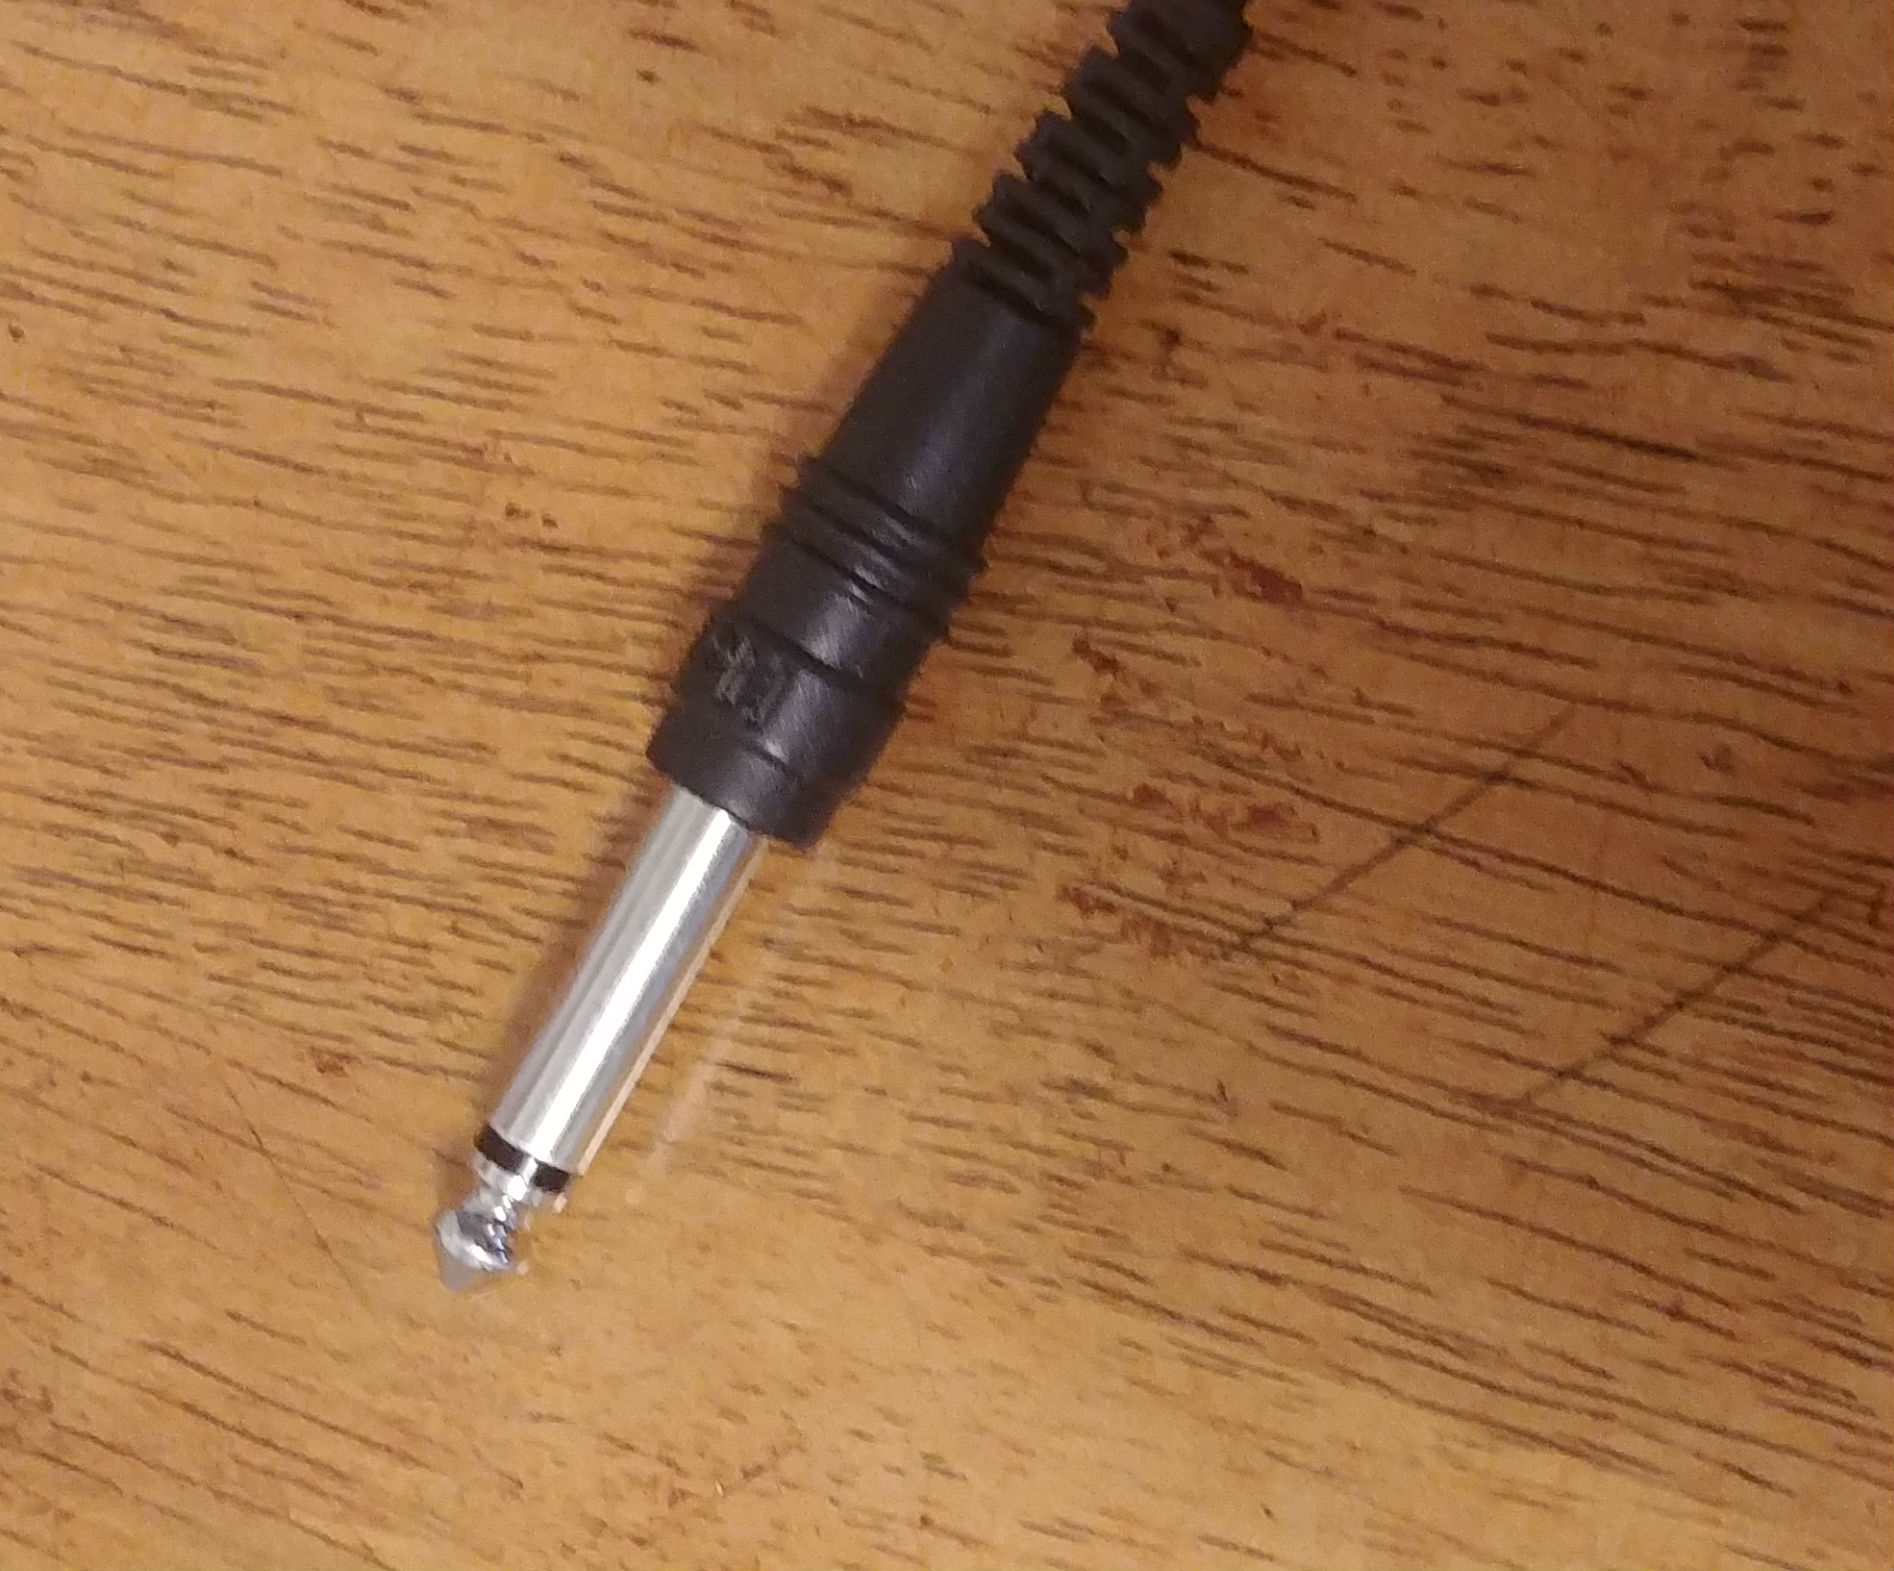
1/4 inch cable
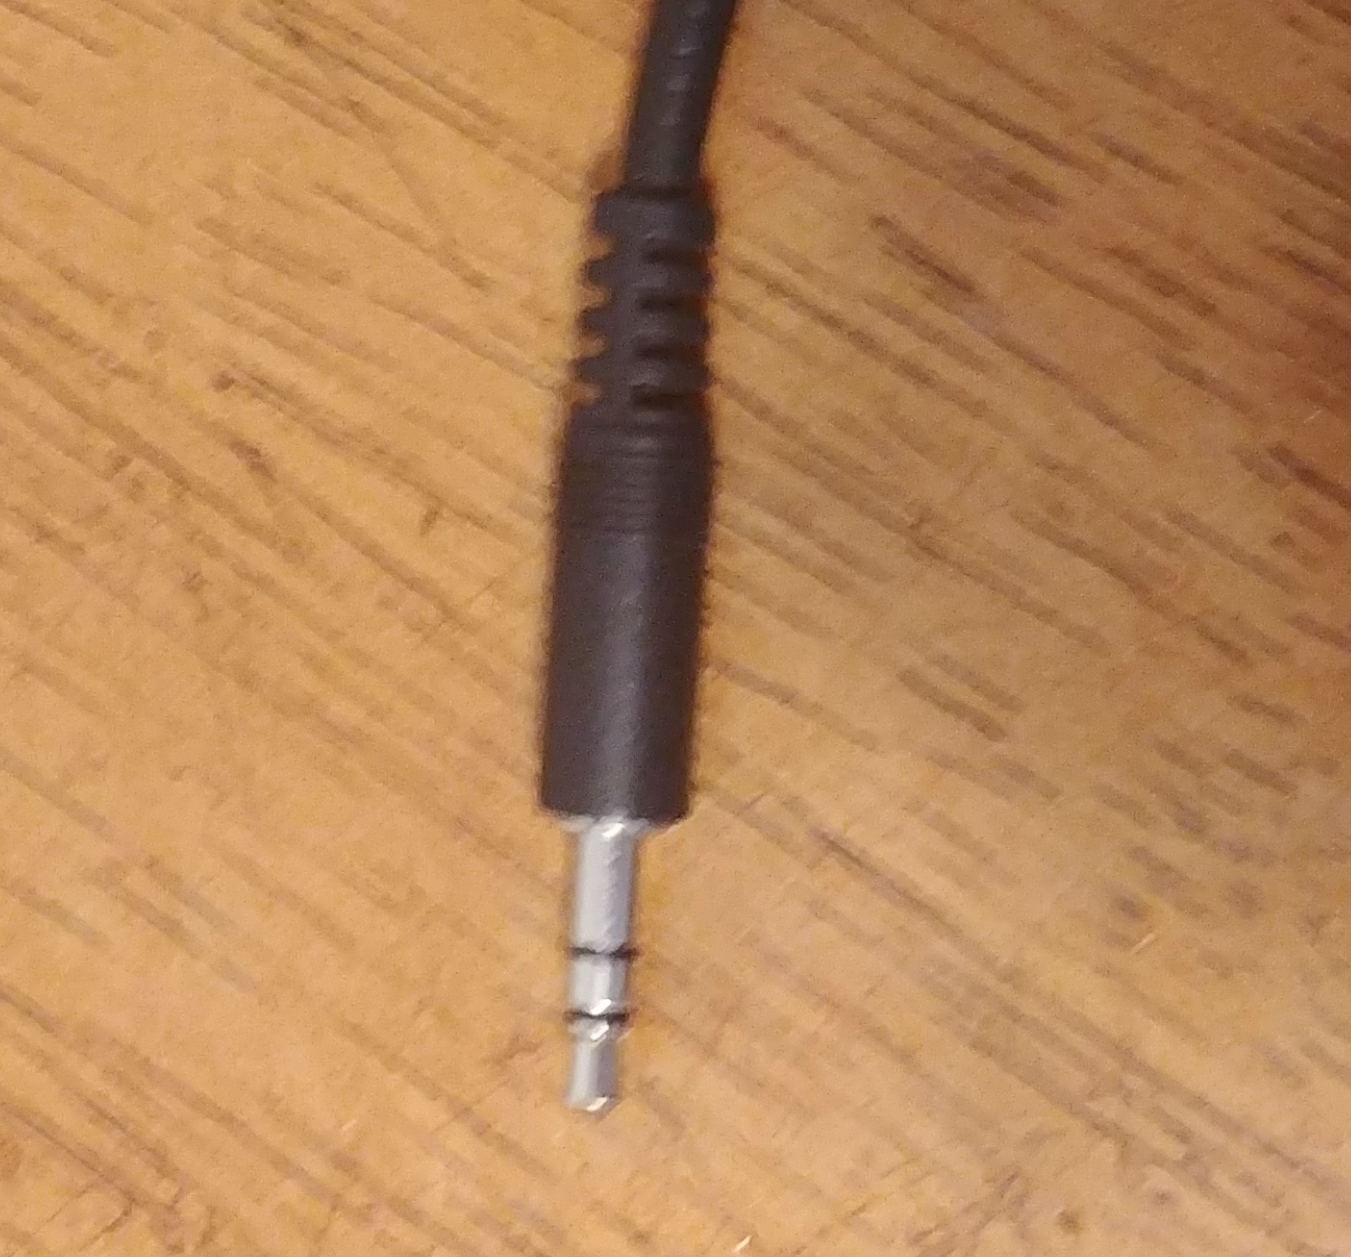
1/8 inch cable
If you only have one XLR output in your mixer, you could find yourself in a situation where it’s not available. The most common reason I can think of for this would be if you were sending your audio to some sort of video simulcast. There is a simple solution to this! Simply run a 1/4 inch headphone out to either a 1/4 or 1/8 in. On a JK Sport Mix, there are multiple 1/4 headphone outs, and I almost always have one open.
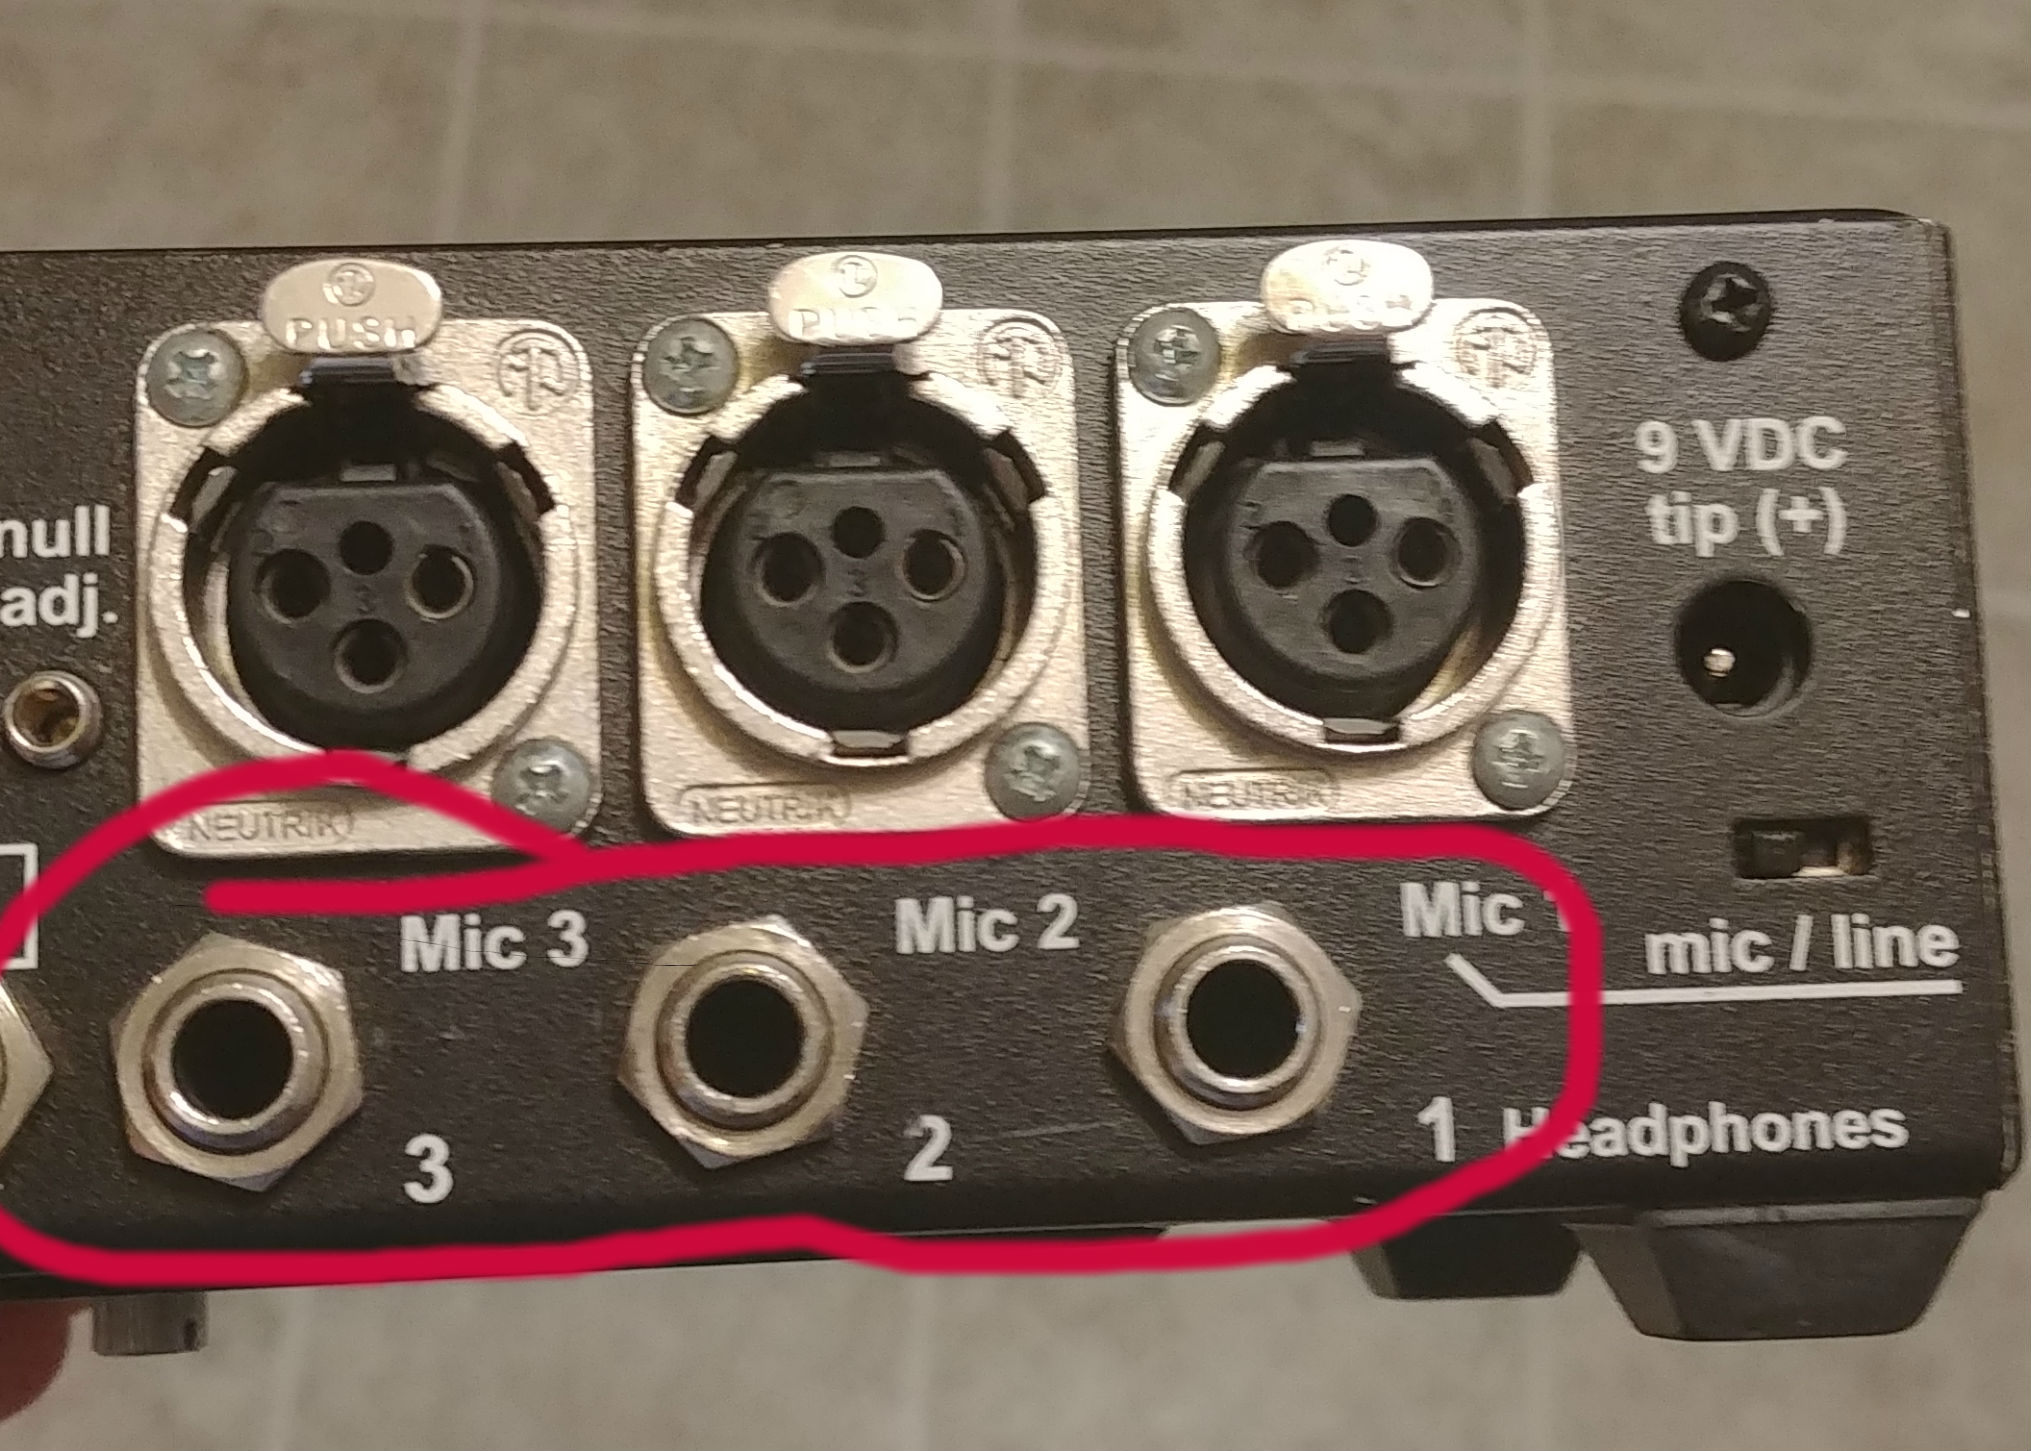
1/4 Inch Headphone Outputs
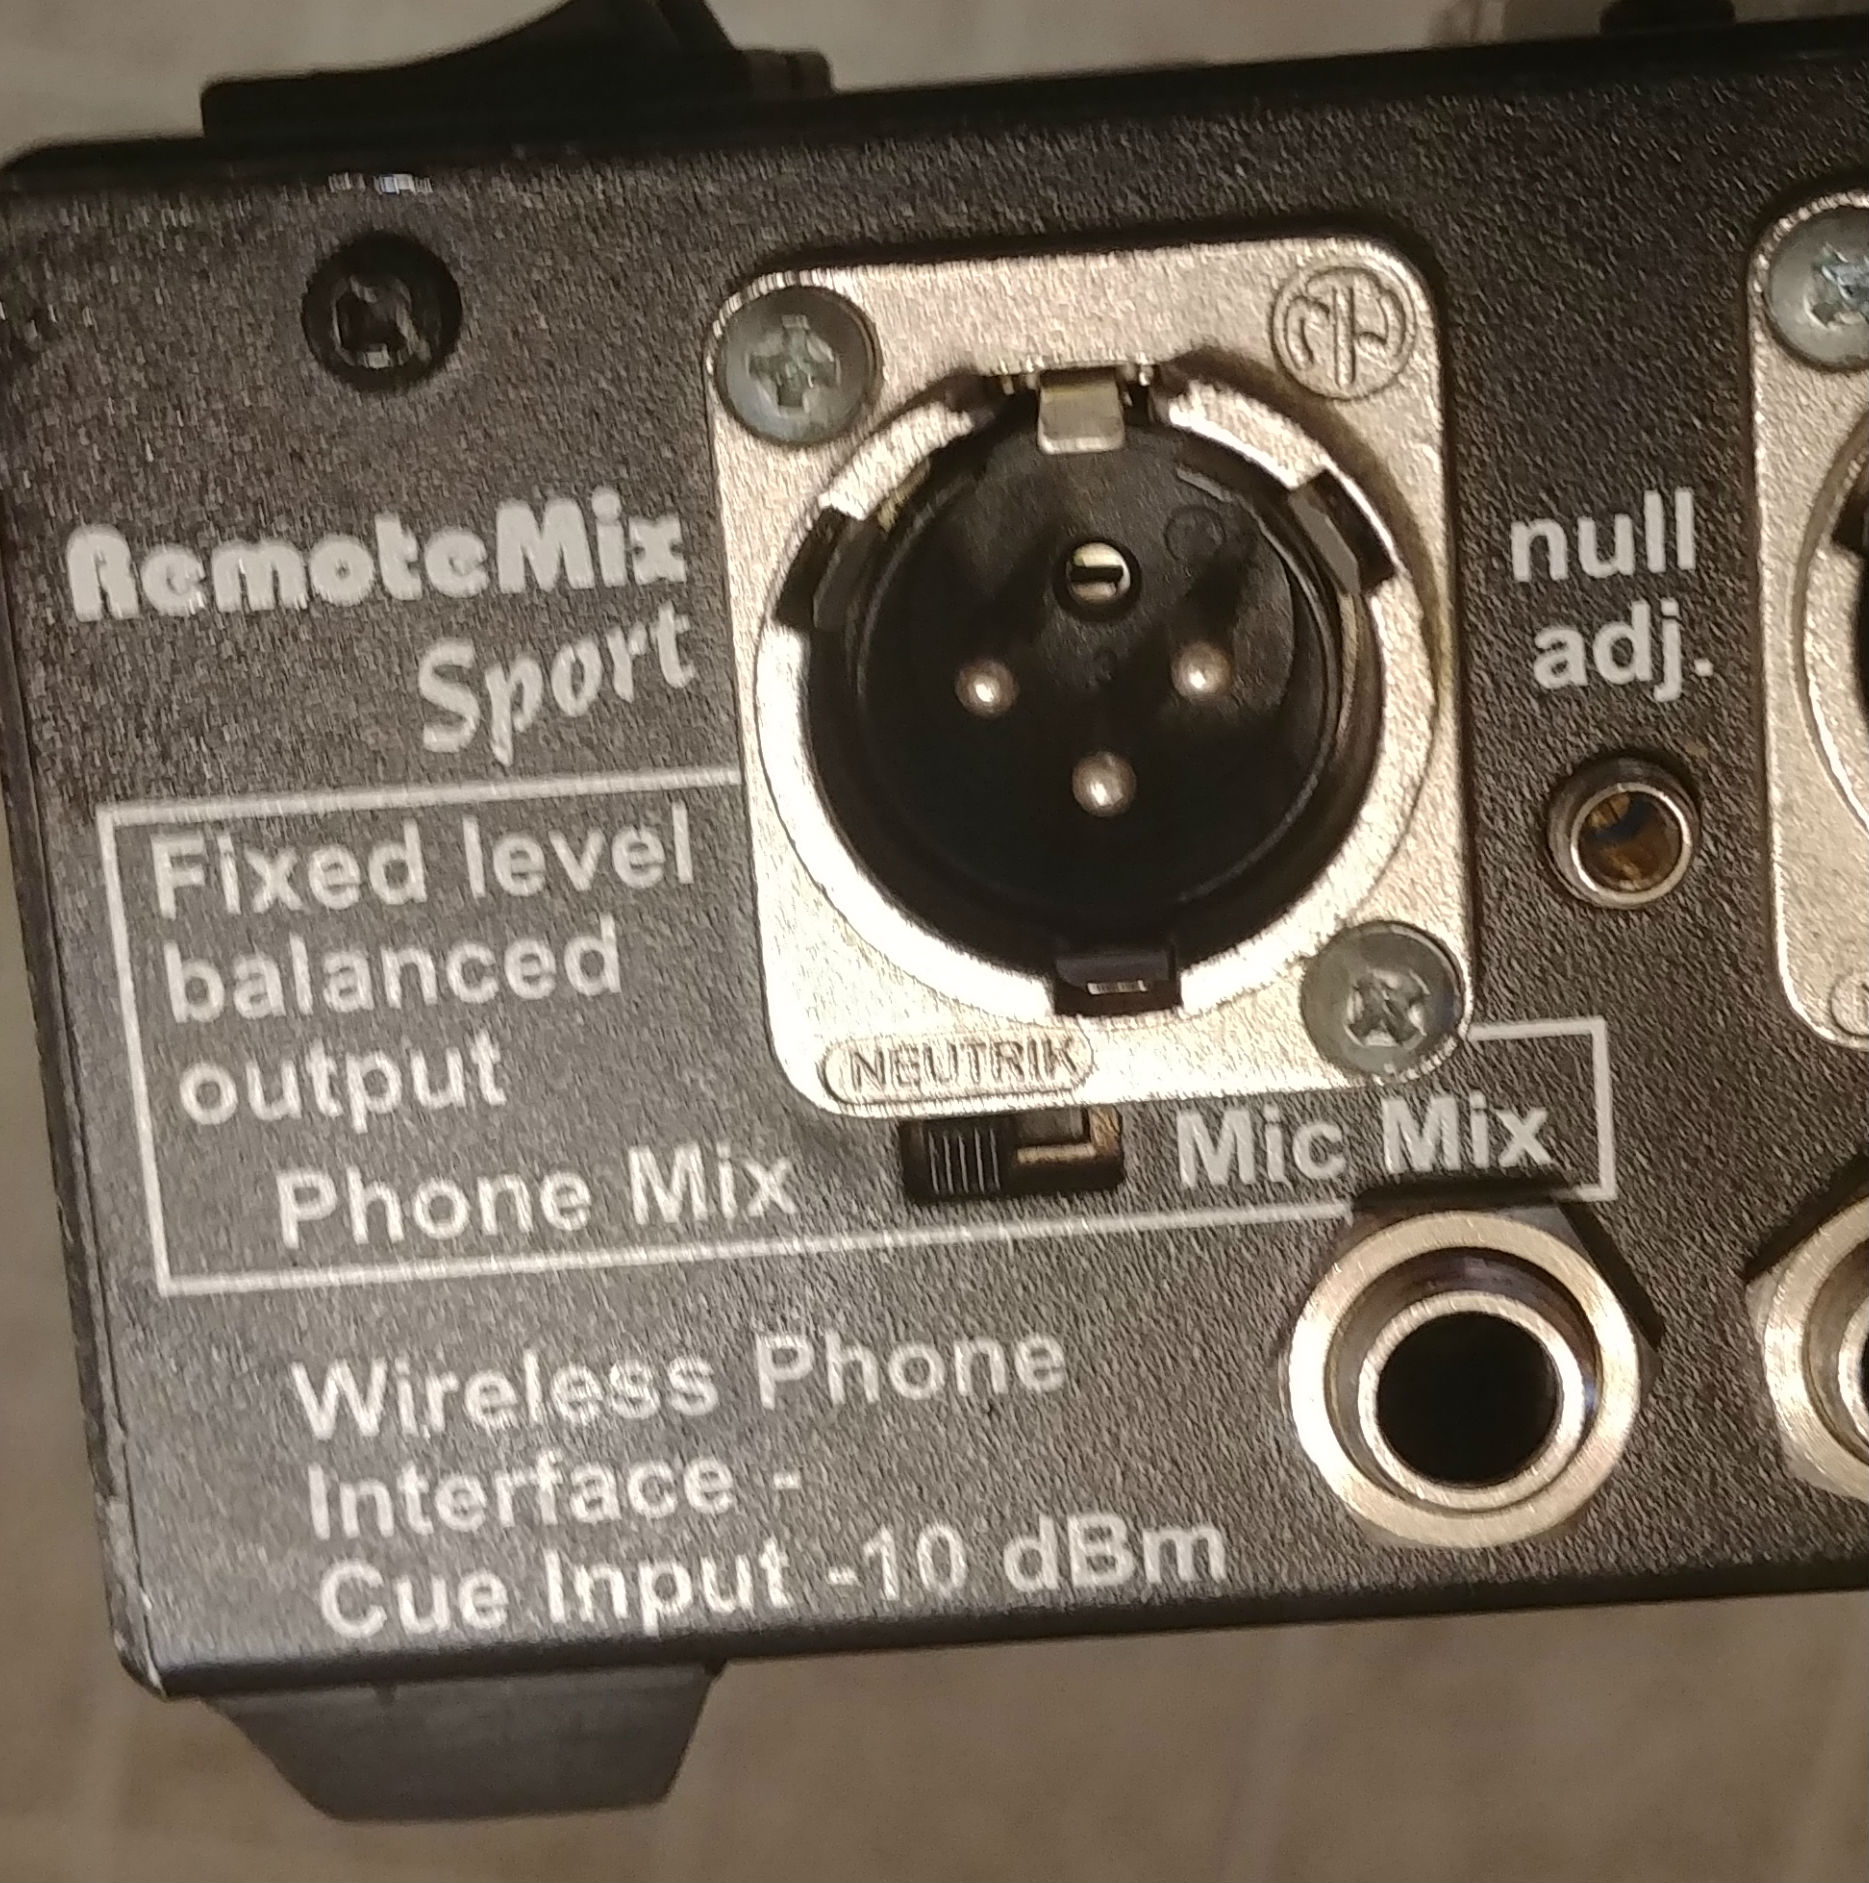
XLR Output
On a traditional mixer you often only have one head phone out, which may require purchasing a headphone splitter/amplifier. You can get a cheap one with four headphone outputs, which can all be individually controlled, for just $25. If you need to use this method, you simply use a 1/4 inch cable from your mixer to your amp input and a 1/4 output to either a 1/4 or 1/8 input.
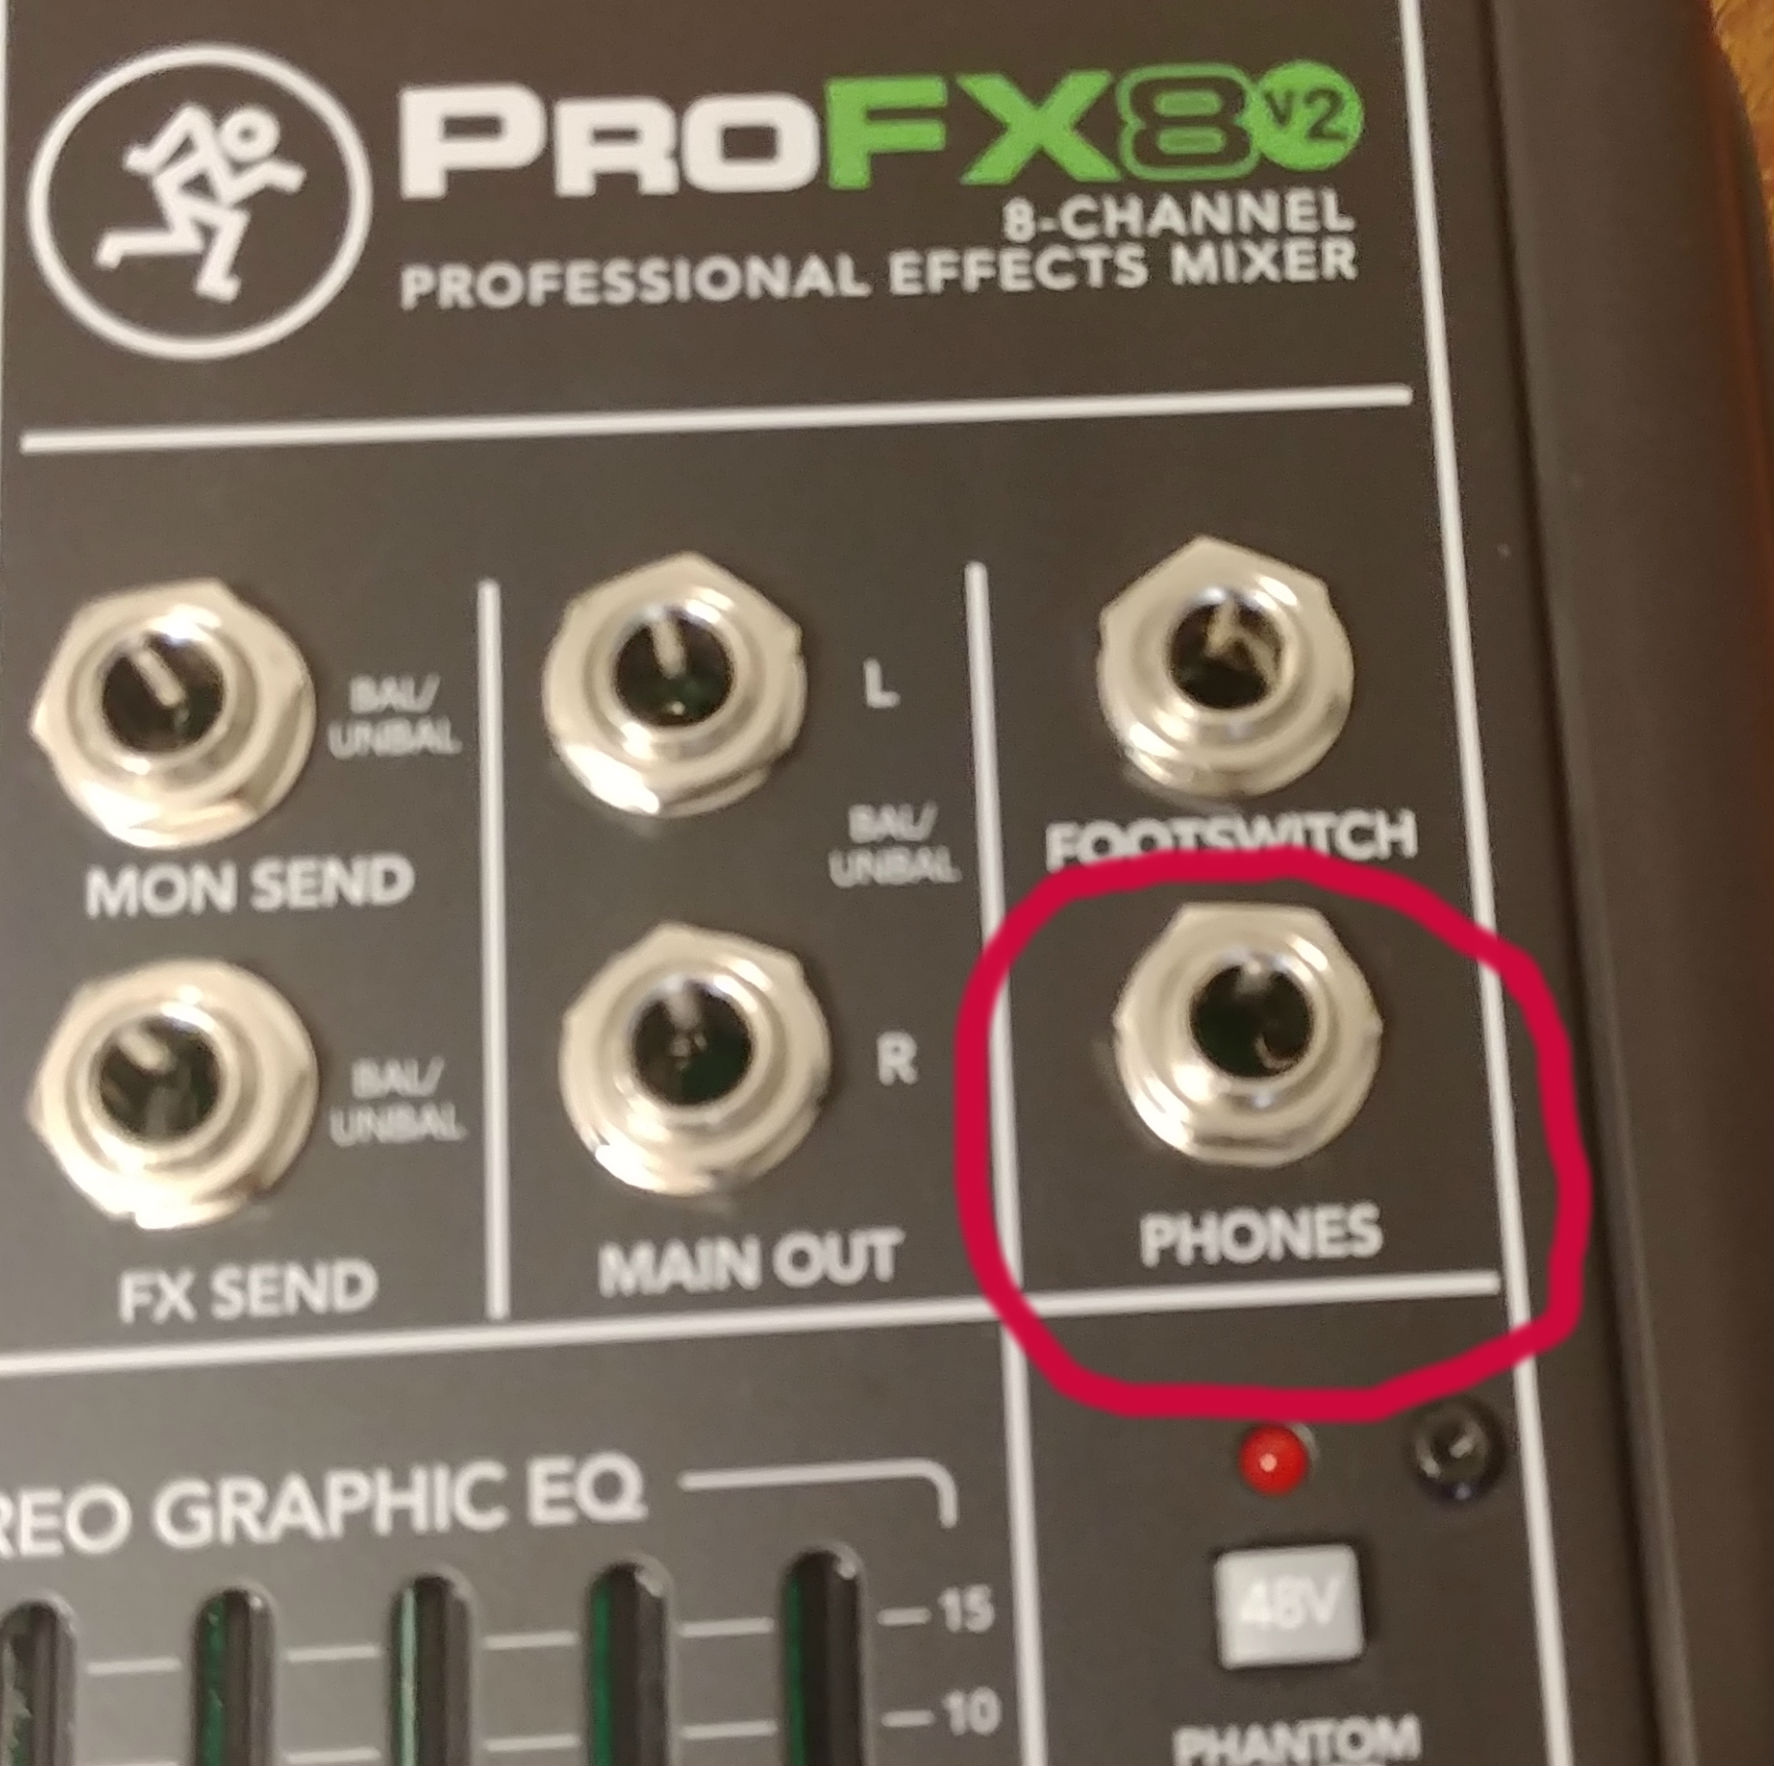
Headphone Out On Mackie Mixer

Headphone Splitter/ Amp
Get Audio From The Second Half: I almost always use audio from the third quarter of games. First, it gives you time to get to know the personnel and effortlessly identify players. Second, if information is scarce, you have plenty of material to recap and develop the story of the game without relying on stats and biographical information. Employers don’t want to hear dramatic fourth quarter finishes, but at the end of the third quarter, drama tends to build, making for more exciting material than early in the game. This obviously doesn’t apply every time, but generally I find my best demo material in the third quarter or early second half of games.
Get Audio From Rematches: In your demo you want to be able to identify players quickly and naturally. Proper preparation takes care of most of this, but a level of familiarity makes everything run in top gear. If you cover a team and they play an opponent more than once in a season, you get the advantage of being extremely familiar with both teams. This should add to the smoothness of your delivery, give you material from the previous game to reference, and provide plenty of ready-made narratives to weave into your broadcast and show off your ability as a storyteller.
These are the methods that work for me, but I’m also certain that there are numerous other methods and tips to get great audio. What tips do you have on getting your very best material for your demo? Share them in the comment section below and good luck to everyone this job season!
Never miss a new SayTheDamnScore.com post by signing up for email updates
Get expert feedback on your play-by-play from the SayTheDamnScore Critique Crew!